Total Pageviews

Sunday, March 22, 2015

Ethyl's Birthday--Ethyl's Easy Cornbread

 Ethyl's Easy Cornbread
One ingredient that makes this easy is the addition of
Yogurt!
It lightens-up the recipe, makes it grainy, fluffier
and healthy.

 The birthday party, Denise, Ethyl, Keith, Doug, Yatzi and Gail.

March has been a month of birthday celebrations.
My sister-in-law, Ethyl, had a birthday on March 20th.
We had a little after-church lunch to enjoy our family's company.
Ethyl brought this cornbread that she has been making for several years.
I thought, this is the perfect recipe for her "fifty-something" birthday blog.
Try it. I think it will soon become one of your favorites!

Ethyl couldn't remember where she first got this recipe,
she has been making it for so long.
It will become one of your favorites also!

Ethyl's Easy Cornbread  (This recipe can easily be doubled and baked in a 9x13 pan.) 
1 1/4 cups all purpose flour 
3/4 cup cornmeal 
1/4 cup sugar 
2 teaspoons baking powder 
1/2 teaspoon salt 
1 - 6 ounce container yogurt (key lime, vanilla, or plain) 
water 
1/4 cup vegetable oil 
1 egg, beaten 
1. Heat oven to 400 degrees F. 
2. Grease an 8x8 pan. 
3. Measure the dry ingredients into a large mixing bowl and mix well.
4. Dump the yogurt into a 4 cup measuring cup. Add water till the yogurt and water measure one cup. Add the vegetable oil and the beaten egg. Mix the liquid ingredients until they are well blended.
5. Pour the liquid ingredients into the dry ingredients. Mix just until dry ingredients are moistened. 
6. Pour the batter into the prepared pan. 
7. Bake 20-25 minutes or until light golden brown and pick inserted comes out clean. 
8. Serve warm. Makes 9 servings.

Ethyl & Keith

A Taste of History...
Sometimes portrayed as a classic Southern food, cornbread is actually a true American food. There are as many variations on this quick bread made from cornmeal, eggs and oil, as there are people who make it. Recipes vary from region to region, although the basic ingredients remain the same.
Cornbread has its origins in the very earliest American history. Native Americans who grew corn were well acquainted with its versatility and used it for cakes, breads, and porridges. They shared their knowledge with the European settlers and corn became a staple food before wheat was established in the New World. The first breads settlers made with corn meal were baked in open hearths, sometimes on planks or other implements, and often called “ash cake.” As cooking methods improved, settlers started using their sturdy cast-iron skillets to bake the breads, known by such names as journey-cake, johnny cake, hoe-cakes, dodgers, spoon bread, and a variety of other appellations. 
One of the great advantages of cornbread is that it keeps well and does not need to rise like yeast breads do. This was a big plus in frontier cooking. As it gradually became more widely consumed, variations on the recipe sprang up, depending on what the cook had on hand that day.
http://www.wisegeek.org/what-is-cornbread.htm
Because there were special varieties of corn grown throughout North America, the corn bread differed by region. In the southwest areas, blue corn was popular. The northern regions favored the yellow corn and the south had white corn. In addition, the preparations in making corn bread differed too./p> 
http://www.indians.org/articles/corn-bread.html

Ethyl & Doug, shared March birthdays.

No blog is complete without at least one photobomb.
Right, Gail?

Happy Birthday!

Sunday, March 1, 2015

Lemon Meringue Pie in a Jar

This Lemon Meringue Pie is easy to make and easy to serve.
I love to make "things" in a jar.
I like the light, refreshing taste of lemon after a hearty meal,
 so I made these for my dinner 
guests on Sunday.
The light fluffy meringue melted on my tongue before the thick lemony filling coated 
the roof of my mouth.  Then there was the graham cracker crunch.  It was great!

A very pretty presentation and single serve.

 Start by making the graham cracker crust as you would for any pie.
In this case, you put the crumbs into jars instead of a pie pan.

 Put 1 package of graham crackers into a zip lock bag,
and then crush them with a rolling pin.

 Add 1/3 cup sugar and 4 Tbsp. of room temperature butter or margarine.
Squeeze the ingredients together in the bag until they are evenly distributed.

 Measure the graham cracker mixture evenly into
10, (1/2-pint or 8 oz.), wide mouth jelly jars.
Press crackers into jar to make a crust.

 Place the jars on a cooking sheet,
and bake at 350 degrees for 10 minutes.

 Make the lemon pudding according to the directions on the box.
I added the zest of 1 lemon for an extra kick.
Use the Cook & Serve pudding, not the instant.
This will go into the oven when the meringue is baked,
so instant will NOT work.

 The classic pie recipe calls for 3/4 cup sugar , 1/2 cup water, pudding mix from a
4.3 oz. package, and 3 beaten egg yolks mixed into a medium sauce pan.
Once that is mixed, stir in 2-1/2 cups water.
Bring to a full boil on medium heat, stirring constantly.
Cool 5 minutes.

Make the Meringue

Age of Eggs:
Meringue recipes work better with eggs that are at least 3 or 4 days old. Thin, older egg whites whip more easily to a higher volume than thick, fresh egg whites. Once whipped, the foam from thin whites is less stable because the liquid film drains more easily from the bubbles. If volume is more important than stability, then older eggs are better to use. For better stability, a good rule of thumb is to use fresher eggs for meringues, saving older ones for general baking.

Don't make egg white meringues on a rainy or really humid day (remember that they are mostly air and if that air contains a lot of water, it will have an effect). 


The tiniest bit of fat or egg yolk will wreck a meringue, as fat interferes with the formation of good foam. When separating eggs, if a speck of egg yolk falls into the egg whites, lift it out with an empty eggshell half. Do not try to fish it out with your fingers; the oil on your skin will prevent the egg whites from expanding.

Beat 4 egg whites in a large bowl on high speed until foamy.
Whipping egg whites are much like blowing air into a balloon. Beating or whisking causes the protein in the egg whites to unfold, forming films that trap the air bubbles, and the sugar stiffens the foam. A meringue is really nothing but a foam, and foam is a big collection of bubbles. 

Do not add sugar before whipping the egg whites. Adding sugar at the beginning can double the time you have to whip the egg whites to get a foam. Add the sugar at the very end when the whites have formed soft peaks.
These and More Tips were found at Perfect Meringue Recipe
Gradually beat in 1/2 cup sugar, 1 Tbsp. at a time until stiff peaks form
and the sugar is dissolved.

The egg whites are creamy and glossy.

 Spoon the filling over the graham cracker crust.

 Spread the meringue over the filling,
sealing to the edge of the crust.
Bake at 350 degrees
approximately 10 minutes or until meringue is lightly browned.

Enough for a dinner party!

 Enjoy!

Denise, Gail, Yatzi, Lei

Roasted Vegetable & Butternut Squash Soup-

It is Sunday after church, and time to spend the remainder of the day
with family and friends.
My friend, Lei, and my brother,Gail, and his girlfriend, Yatzi, are coming over for a hot bowl of
 Roasted Vegetable & Butternut Squash Soup
and
Lemon Meringue Pie in a Jar.  
It has been bitterly cold in Iowa this past week with the Friday morning temperature of 15 below zero.  That does not take into account the wind chill.
I have been hungry for a hearty, healthy soup that will warm us up
from the inside out.
My first part of the meal is the soup.
The roasted vegetables are charred just a little with a beautiful deep orange color of
melt-in-your-mouth squash.

 Creamy, deep orange butternut squash topped with crunchy, salty bacon bits
and chopped green onions.

My Roasted Vegetable & Butternut Squash Soup
  • 1 large butternut squash, roasted and cubed
  • 1 white onion
  • 1 red bell pepper
  • 1-lb. parsnip
  • 8- oz. sliced button mushrooms
  • 1 garlic bulb, roasted
  • 1 tsp. thyme
  • 32 ozs. chicken stock
  • cooked bacon and sliced green onions for garnish
Roast the squash (or microwave it), onion, red bell pepper, parsnips, mushrooms, and garlic bulb in a 425 degree oven for 20-40 minutes.  First, drizzle olive oil over the vegetables and sprinkle with salt and pepper.  Toss to coat.

Put the butternut squash, chicken stock, roasted onion, parsnips, and half of red bell pepper and roasted garlic with thyme and salt and pepper to taste in a soup pot.
Cook on low to medium heat until vegetables are hot and flavors are blended.
Puree with an immersion blender.  Then add mushrooms and other half of red pepper. Puree again,
leaving some chunks for texture and color.
Ladle into bowls and top with bacon and green onions.
Printable version of recipe: Roasted Butternut Squash Soup

To roast garlic:
Drizzle a couple teaspoons of olive oil over each exposed head, using your fingers to rub the olive oil over all the cut, exposed garlic cloves. Cover the bulb with aluminum foil. Bake at 425°F for 30-35 minutes, or until the cloves feel soft when pressed.

This is a fresh parsnip.
They have wonderful flavor and are making a comeback for great flavors in soups
or roasted with other root vegetables.
Parsnips nutrition facts
Parsnips are sweet, succulent underground taproots closely related to the carrot family of vegetables
Its fleshy, stout roots appear as that of carrots, but are white or cream in color and sweeter than that of carrots. Adequate winter frost is essential for good crop production since it facilitates convertion of much of its starch into sugars and helps develop long, narrow, and firm parsnips. The roots generally harvested when they reach about six to ten inches in length, by pulling the entire plant along with its root (uprooting) as in carrots.
Fresh roots are also good in vitamin-C; provide about 17 mg or 28% of RDA. Vitamin-C is a powerful water-soluble anti-oxidant, easily available to us from natural sources. It helps the human body maintain healthy connective tissue, teeth, and gum. Its anti-oxidant property helps protect from diseases and cancers by scavenging harmful free radicals from the body.
For more benefits: http://www.nutrition-and-you.com/parsnips.html


Place the cut vegetables on a sheet pan.
Add the olive oil, salt, and pepper and toss well. Roast for 20 to 40 minutes,
depending on the size of the vegetables, tossing occasionally,
 until the parsnips and vegetables are just tender
with a roasted brown color.

Roast the butternut squash or cook in the microwave until soft.
Remove the seeds and membranes.

Scoop the squash into soup pot and add thyme to season the squash.

When the vegetables are a beautiful roasted brown color,
add to the soup pot of squash, leaving the mushrooms and half of the red pepper
to be added later.

Season with salt and pepper.

Add 32-oz. of chicken stock.

Then add the peeled roasted garlic
and continue to cook on low heat to blend the flavors.

Puree the soup until smooth and creamy.
 Then, add the mushrooms and the remainder of the roasted red bell pepper.

 Stir in mushrooms and red pepper, and puree again
 leaving some chunks of mushrooms and red pepper for texture and color.

Pour into soup bowls, and
garnish with cooked bacon pieces and chopped green onions.
Enjoy!

 Gail & Yatzi and Lei.
I met Lei 3 years ago at a New Year's celebration at her Chinese Church
in our home town.  We have enjoyed Cooking meals & great
Conversation since.
Lei taught me to make
Chinese Pork Dumplings


Check them out at
http://denisebullcooks.blogspot.com/search?q=pork+dumplings

After that delicious Roasted Butternut Squash Soup,
we are ready for our Lemon Meringue Pie in a Jar!

Blog to follow!
Lemon Meringue Pie in a Jar

Sunday, February 22, 2015

A Time to Celebrate with Chocolate Fondue


Garrett, Liz, Aiden, and Camden

Today we are celebrating my son, Garrett's, new job at Iberdrola Renewables.
He has been a wind turbine technician since 2008, 
and is moving to a new wind farm fairly close to where he lives now.

Garrett at Panther Creek 3 Wind Farm,
South of Big Spring, Texas

 These three photos are of the Hoosier Wind Farm.


Mojave High Desert in California for a 3 week training.

 Sunrise at the Victory Wind Farm.
I love that name.

 At work...


Some fun facts:
2.3-MEGAWATT WIND TURBINE
Distance from ground to hub 263 feet
Length of rotor blade 173 feet
Concrete foundation 66 feet in diameter, 8 feet deep
Concrete foundation contains 395 cubic yards of concrete and 63,400 pounds of reinforcing steel
Energy generation Begins at a wind speed of 7 mph, maximum generation occurs at 29 mph
http://www.midamericanenergy.com/include/pdf/wind/facts_iowa_wind.pdf

A view from the top.

On to our celebration.
 We are having a simple lunch of pork sliders topped off with
Chocolate Fondue 
for dessert.

What could be more fun?
Find that fondue pot you packed away in the 1970s, and be prepared 
for a trip down memory lane. 

 I recruited my two grandsons, Camden and Aiden, to be my sous chefs.
They are preparing the blackberries and pineapple for dipping.

Traditionally, fondue consisted of small chunks of French bread 
dipped in a melted, gooey
mixture of hot Swiss cheese, Kirsch, wine, white pepper and nutmeg.
With that being said, those who know me would rightfully question me throwing a fondue party.
I do not like cheese.  When a dish calls for cheese, I request it be left out.
So, that eliminates many dishes from my diet such as 
mac'n'cheese, grilled cheese, Alfredo, and the list goes on and on and on...
But, I do love chocolate!
My fondue party is chocolate only.
That is a good thing!

Camden is getting the marshmallows ready for Fondue S'mores.

 I know that you can dip marshmallows into chocolate, 
but we are putting a new twist on s'mores.  
Garrett and Liz gave Doug and I an indoor Hershey S'more Grill for 
Christmas a couple of years ago.  It came about when I said you can make s'mores out of any chocolate.  My theory is that you can use chocolate chips and not just Hershey candy bars.
And, you can use Teddy Grahams and not just graham crackers. And, I also use mini marshmallows.
So, my recipe combines Teddy Grahams, mini marshmallows, and chocolate chips together in a bowl.  You don't have to roast the marshmallows, either.
My husband, however, is a purist.  He maintains that you can only use Hershey candy bars, graham crackers and roasted marshmallows.  Hence, we received the indoor s'more pot for Christmas, just to keep the debate alive.

Aiden is getting the graham crackers ready to dip into the chocolate.
By the way, I did a blog with Aiden when he was two years old.

Check it out.  It validates my s'more theory...Cooking with Aiden

 Ready for slow cooker pork sliders with
Camden, Aiden, Doug, Garrett and Liz.

 Proud Mom and Grandma in the middle.

Chocolate Fondue, 1970s Style:
  •  1- 16-oz. bag milk chocolate or semi-sweet chocolate chips
  • 1/2 c. half and half
  • 1 teaspoon vanilla
Melt the chocolate over a  double boiler.  Add warmed half and half and vanilla. Stir until
smooth and put mixture into a fondue pot.  Dip your favorite fruits and cake into fondue.


 Melt the chocolate chips.
If you don't have a double boiler, you can easily place a light, non-plastic bowl set over a pot of lightly steaming water. The steam will slowly melt the chocolate. 
Do not add water as the chocolate will become unusable.
Make sure not to put the bottom of the bowl (holding the chocolate) in contact with the steaming or boiling water. Contact with the water may cause the bowl to grow too warm, burning the chocolate instead of melting it.

 Then warm the half and half and vanilla in a microwave for a few seconds.

 Add the warmed milk into the melted chocolate chips 
and stir until combined.

 Pour the melted mixture into a fondue pot.

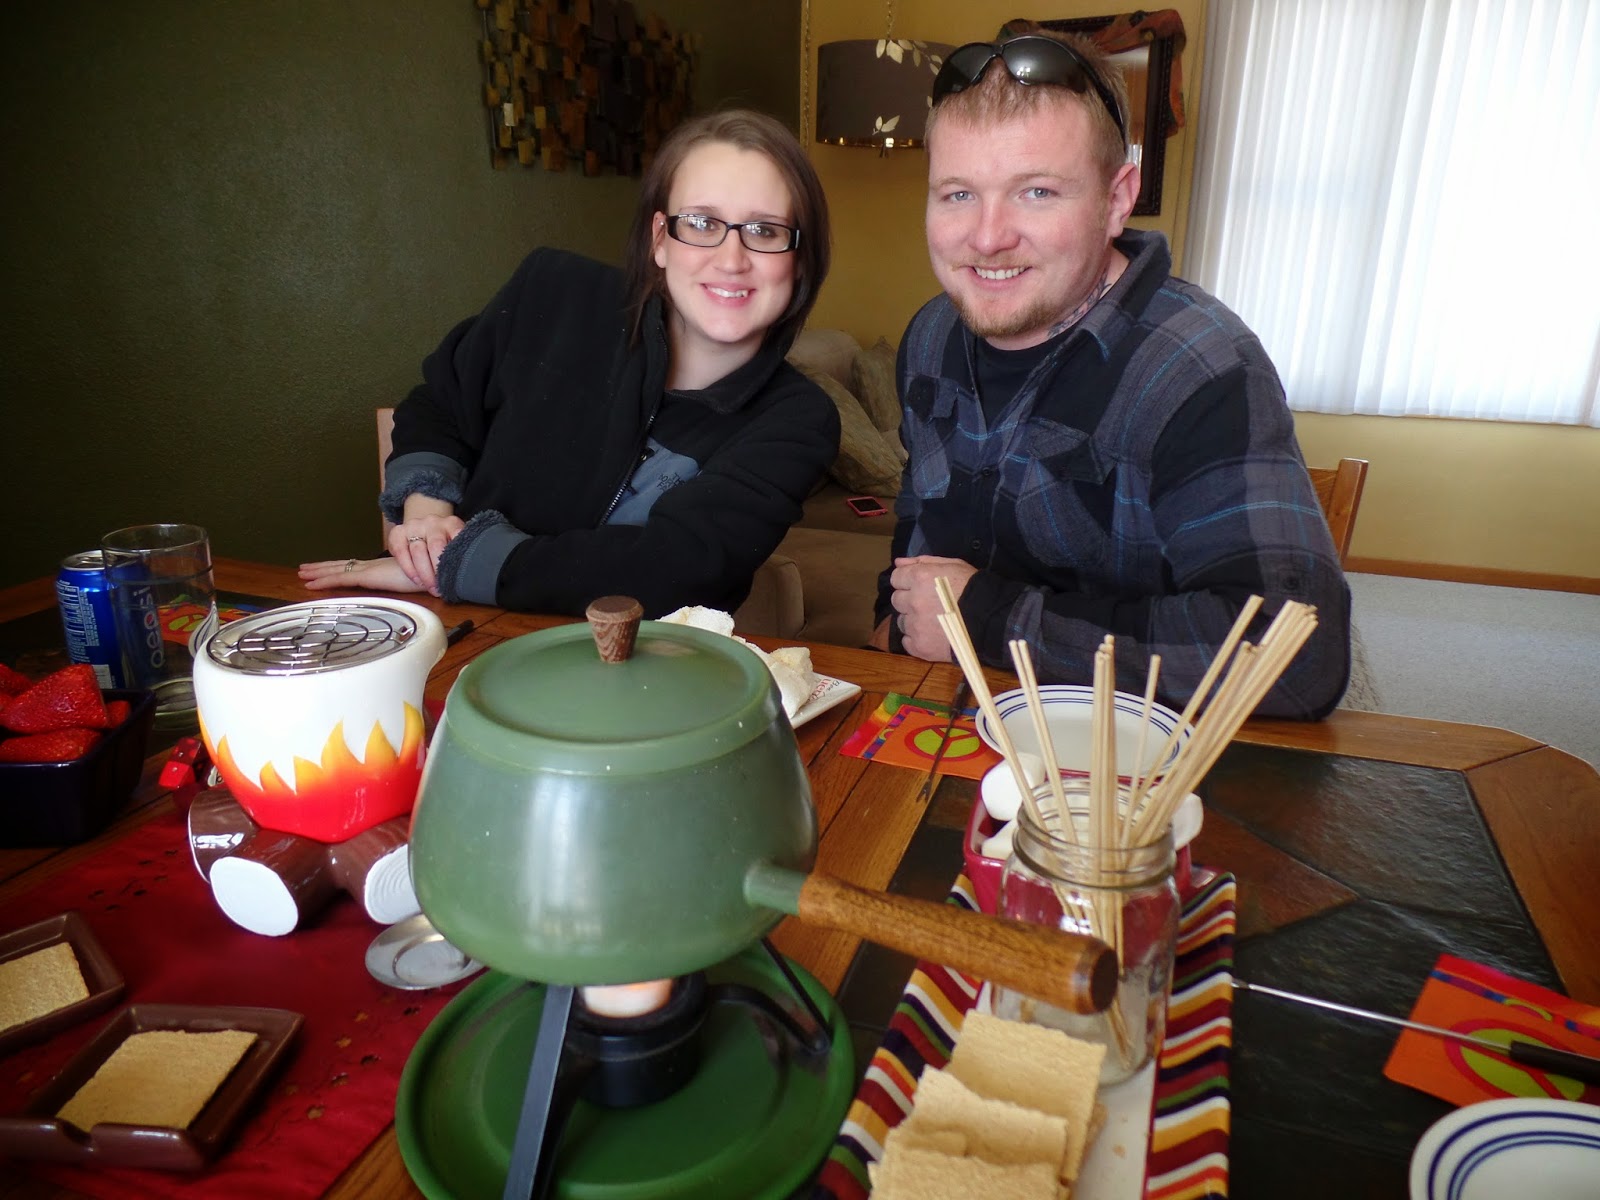
 This fondue pot is my Mom's from the 1970s.
Time to turn on your lava lamp and pull up your bean bag chair and dip in.

This fondue reminds me to today's popular ganache.
Ganache is the French term for the luscious combination of chocolate and cream.
When it’s hot and pourable, it’s a classic companion to ice cream. Warm, you can pour or pipe it over a cake, cupcakes or cookies; it will set to a soft, rich glaze. Let it cool to room temperature and whip it in a mixer to make a fluffy frosting. 
Or chill it, then roll into balls and dust with cocoa powder to make truffles.

 Liz and Garrett.

 A fondue s'more.


 Dip strawberries, blackberries, pineapple, and whatever fruit you have on hand.

 Angel food cake dipped into the chocolate fondue.


Peace!

More...

Happy 30th!